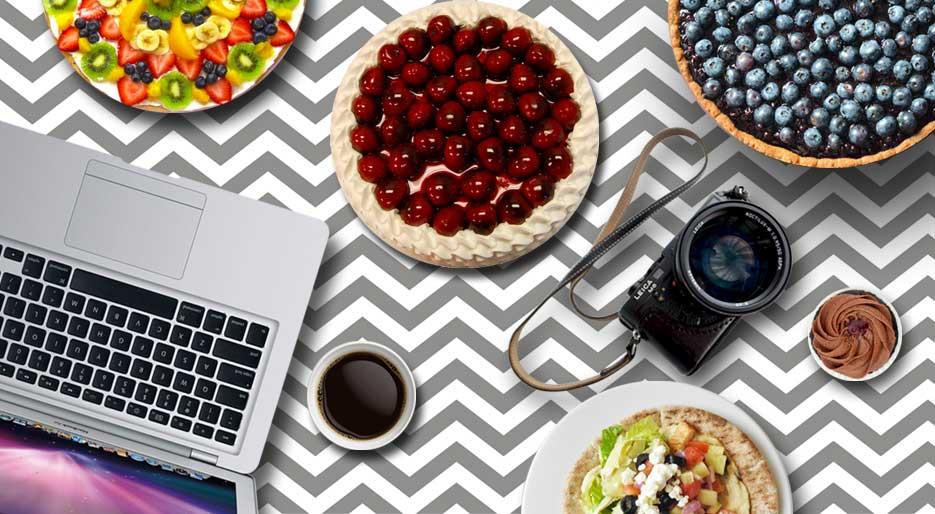
Complete Guide to Create a Still Life and Home Food Photography Studio
Are you cherishing a dream to create a still life and food photography home studio but does it seem to be nearly impossible? Are the challenges involved, refraining you from stepping into your perfect home food photography studio? Well, it’s time to steer your dream into a spectacular reality. Below are the efficacious steps towards setting up an eye-popping home food photography studio. Lights! Camera! Action!!
Getting Started
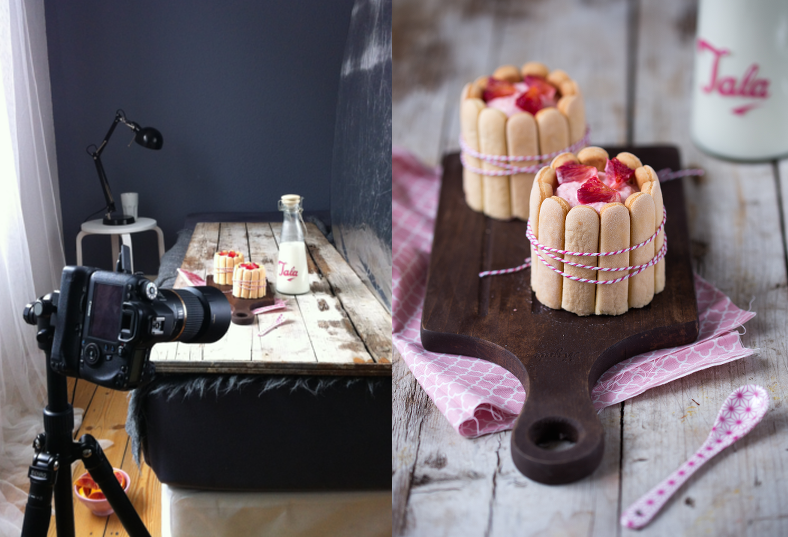
Well, you actually do not need a studio or a showy location to make a jump start with your dream food studio. You can stem by creatively using a space at home, such as a table placed by a window. If you have cherished the dream to own a food photography studio, then be confident about your creativity.
The Table
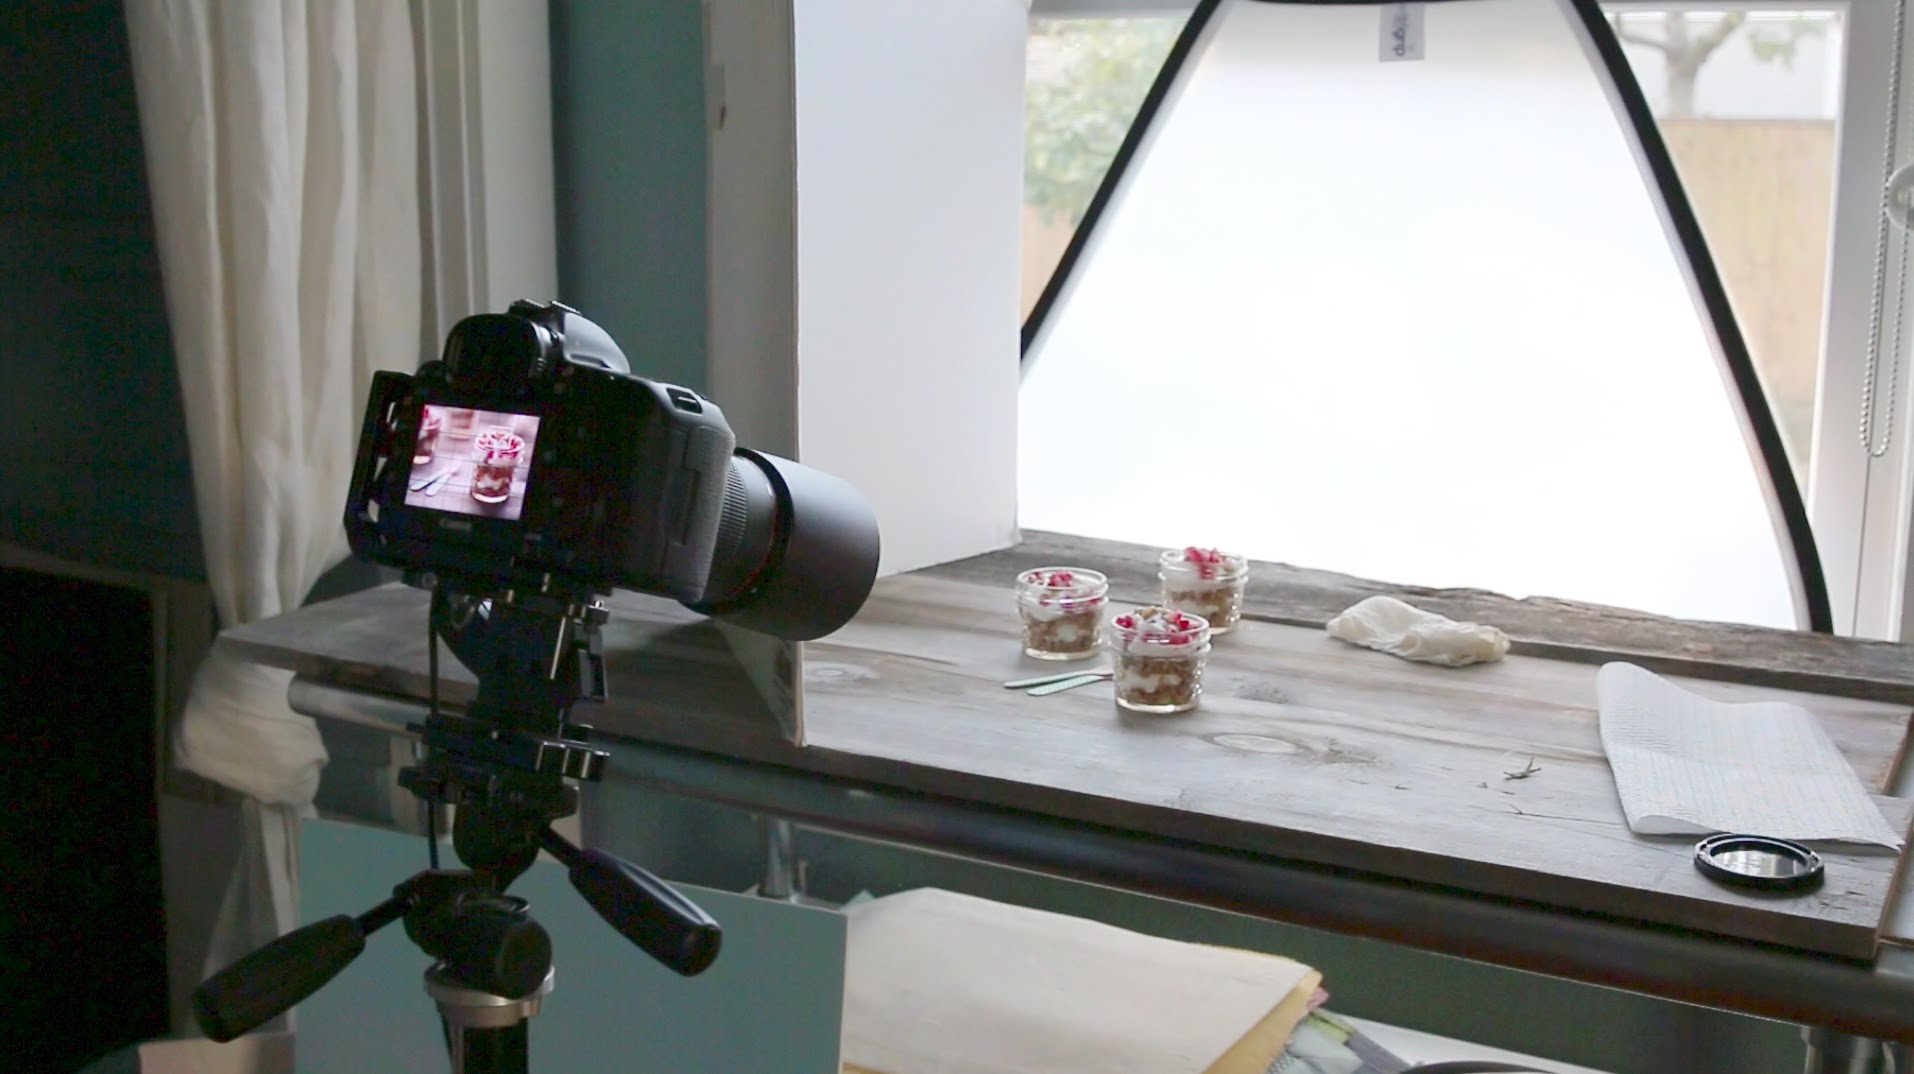
You have to pose your yummilicious dish on a pedestal, so using a standard table may look ungraceful. Generally, the learned photographers opt for a sanded piece of plywood. It’s cost effective, simple and easily available. To start with, try to avoid glazy surfaces such as glass or metal, as they tend to reflect light and it may be awfully laborious to take the first shot.
Caricature Natural Light
“God said let there be light and there was light!” Mother Nature is an incomparable source of light. It provides magnificent shades of light that vary as the sun strolls in the sky. Monitor the best time of the day when the light is not too gaudy and not too dull. However, not every day will be sunny so one may get stuck with a cloudy day or sometimes may have to shoot at night. So, caricaturing natural light is the best option to keep the ball rolling. It is an artwork and all what is needed is trifling extra lighting tools. Many iconic photographers bring their portable lighting kit plus a large soft box, which is a perfect caricature to natural light. Ensure to accustom the white balance proportionately. In addition, one can choose small pieces of foam core to divert the raw sunlight up on a defined part of the frame. The derived shadows would cast life into your pictures and would add a new dimension to the photography.
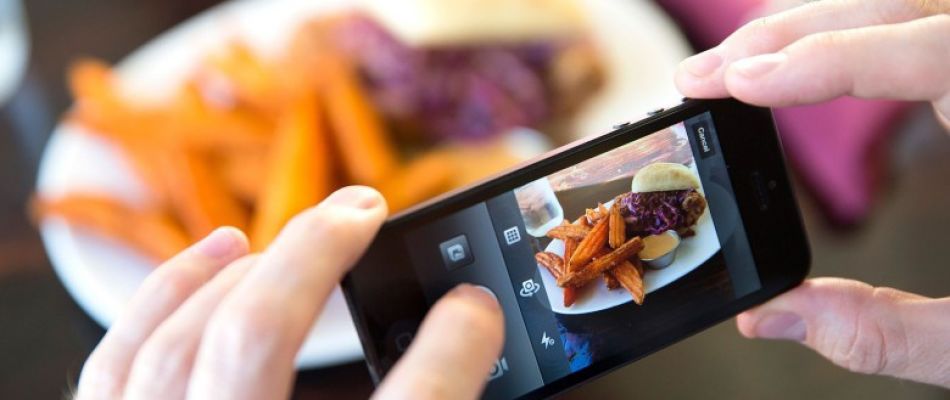
Creative Eye (Camera) on a Strong Base (Tripod) = Fantabulous Shot
Well, a solid and steady base is an important tool for still photography. Taking your best shot may require patience, thereby resulting in a fatigue that would spread to your finger arm and shoulders. The best solution to avoid such interruptions is a tripod. It takes only moments to erect and tweak. Additionally, tripods are extremely helpful while taking close-up shots as it requires skill and minor but unshakable movements. Food photography requires waiting for hours for the natural light to turn affable and this may involve standing with bent knees or probably on toes. Now, no one would like to stand like a statue at one point for a long time to observe the perfect balance. This is where tripod steps in like a rescuer.
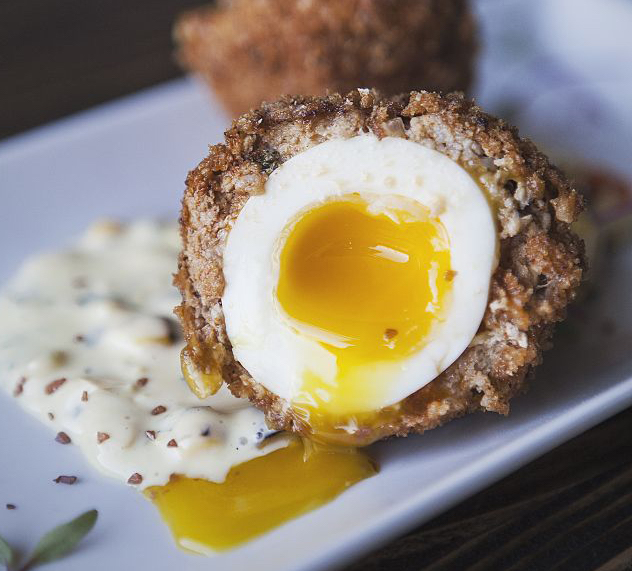
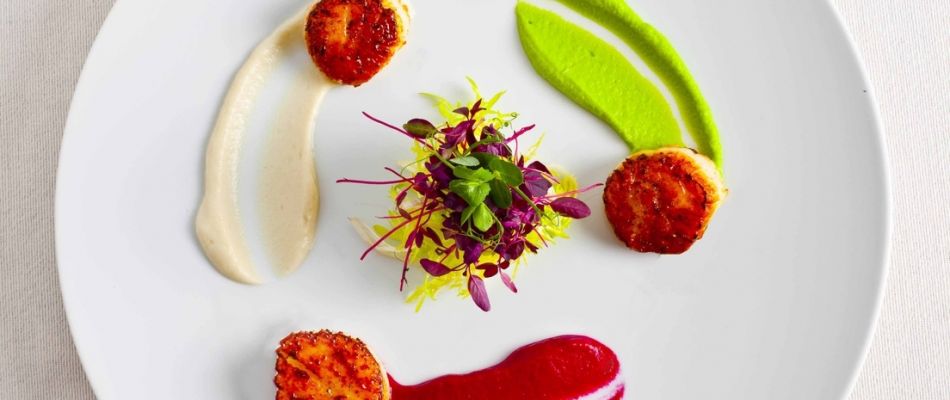
Captivate Your Focal Point Forward
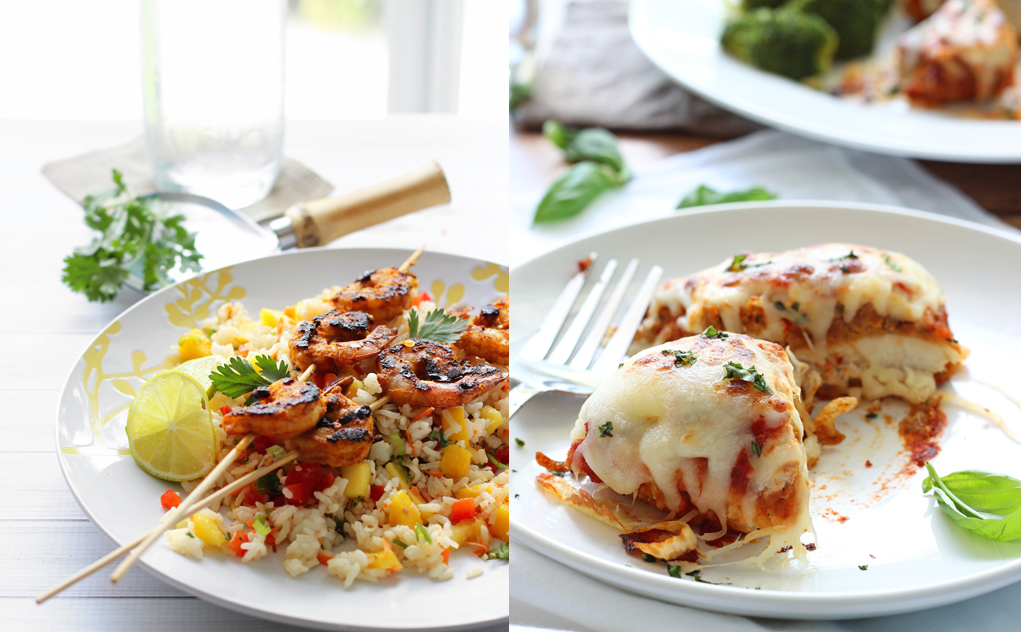
The focus of attention of any admirable food picture is the dish itself. A momentous magnitude of blur to the background will cast the focal point to erupt. An interesting example is the “@” symbol that denotes a central focal point and then attracts the viewer’s attention to observe the rounded frame.
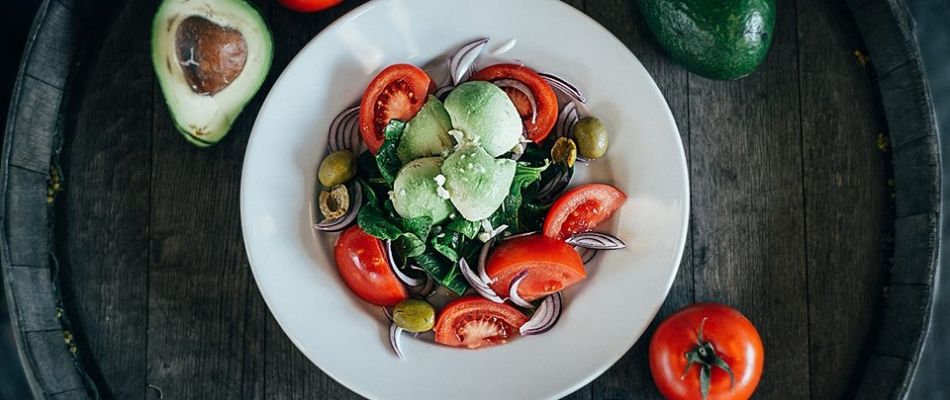
Props and Backgrounds
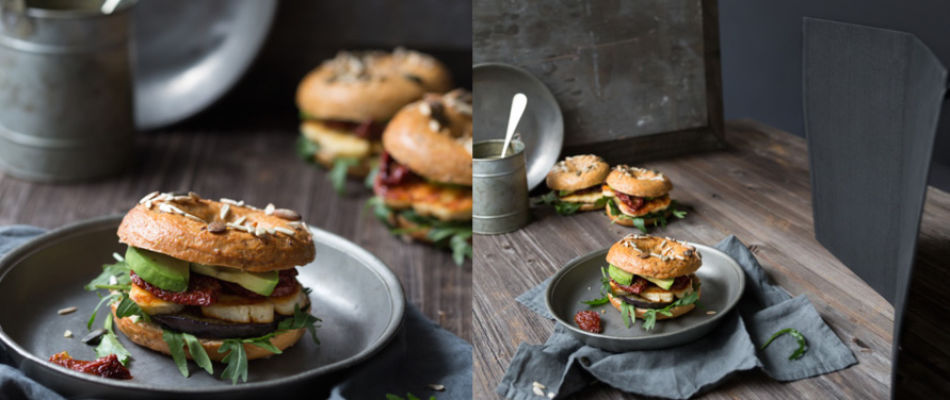
Generally, the backgrounds may not be necessary but for an attention grabbing image, you definitely need them. An ideal preference would be the weathered wood that provides a perfect background, like, an old table top that has been discarded or the seasoned door from the garden shed that looks like an antique.
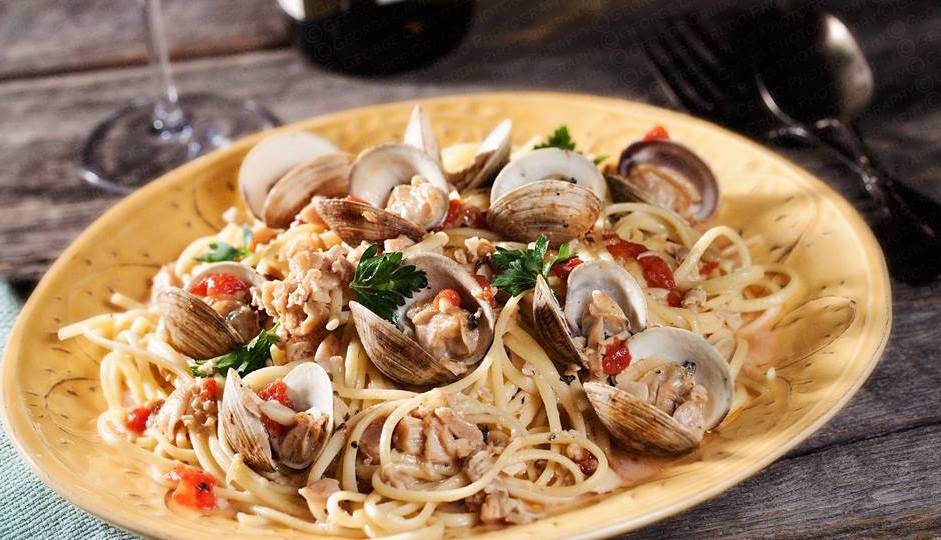
Now coming to the selection of props or expressly, the accessories like plates, cloths or tableware, is exceptionally important in food photography. It is advisable to select dark accessories in gloomy colors. Usually the retina focuses on the glossy area of an image first, which should be your dish. The ceramics should be propped in a way that the dish gives a glimpse of an everyday appetizer.

The Final Master Stroke
Usually, the trained photographers follow a routine practice to give a finishing touch to their clicks. An awesomely clicked image is still not ready to be mingled with the recipe description. Therefore, the photographers hook the pictures to their computer for a final touchup. Photoshop is recommended as the best tool to remove unwanted blemishes. One can make essential crafting in terms of color balance, shadows, contrast and dark spheres. This would give the image a perfect icing on the cake.
Happy Photography and Stay Healthy!


Leave your comment
Please login in order to submit your comment.