The first time I tasted this layered cake slice from a bakery in Dubai, it was a mystery with every bite. Is it a cake layer? if so then how could it possibly have such ridiculously thin layers? But wait it is crumbly plus moist? two contrasting features in one? Hmmm melt in the mouth. What is it? It etched an impression like an untold story as I devoured into it. It's quite some time now, and the memory comes back to me like poetry. This time, when I was on a short vacation in India spending quality time with parents and sisters, and wanted to bake a "Something special" cake, the first thing that hit me was THAT cake, I had years ago, the name and recipe of which I didn't know, nor had any idea of it's components, except for the impression it left. Hey the mood suddenly reminded me of the "Solitary Reaper".
O.K wading off from the dreamy trance, I hit reality as I realized that... forget the Cake on my plate, getting the right recipe seemed daunting than I thought. Initially, "Honey cake" on google showed loads of regular pound cake image results!! that's not what I'm looking for!
"Layered" was the key word here, precisely 8 layers! And "Medovik" is the authentic name of this Russian Cake. All that info is making me hungry already! From authentic name, I hit gold with this recipe from "Smitten Kitchen" by Deb Perelman and the mystery is solved.
I'm not much of a Honey lover, but I fell for this, (sometimes you gotta give everything a chance), on the other hand, my Dad and Husband both share an ardent love for it, I can actually see "Winnie the Pooh" in them, so making this cake for them was apt. The fact that these beauties are made by stacking large cookies between layers of sweetened sour cream intrigued me further to jump into action. Here is a pictorial guide.
Previous day Prep are as follows:
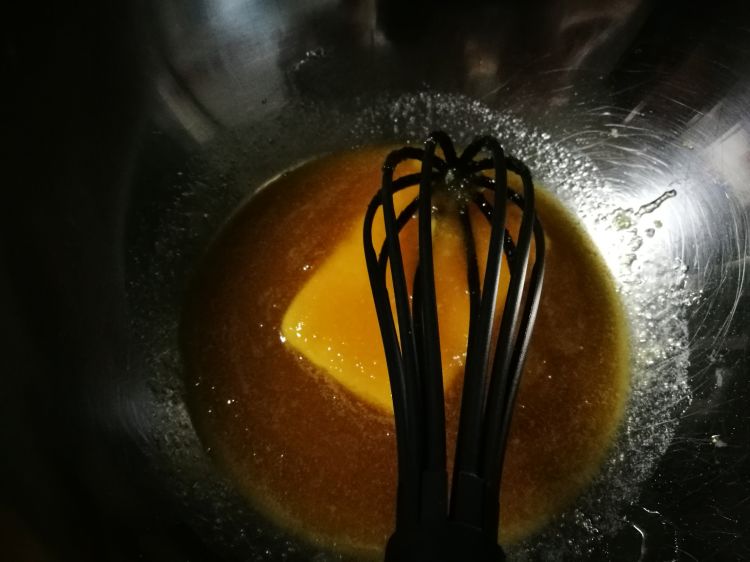
1. In a sauce pan combine butter, honey and sugar over medium heat. Simmer for 3-4 mins, until it changes color faintly to a darker shade with a beautiful aroma. Stir in the baking soda. Take off heat. keep aside for 2-3 mins. Beat eggs in a separate bowl, and very slowly drizzle the egg mixture into the hot butter-honey mix, continuously whisking it the whole time. Whisk it until all the eggs are completely incorporated.
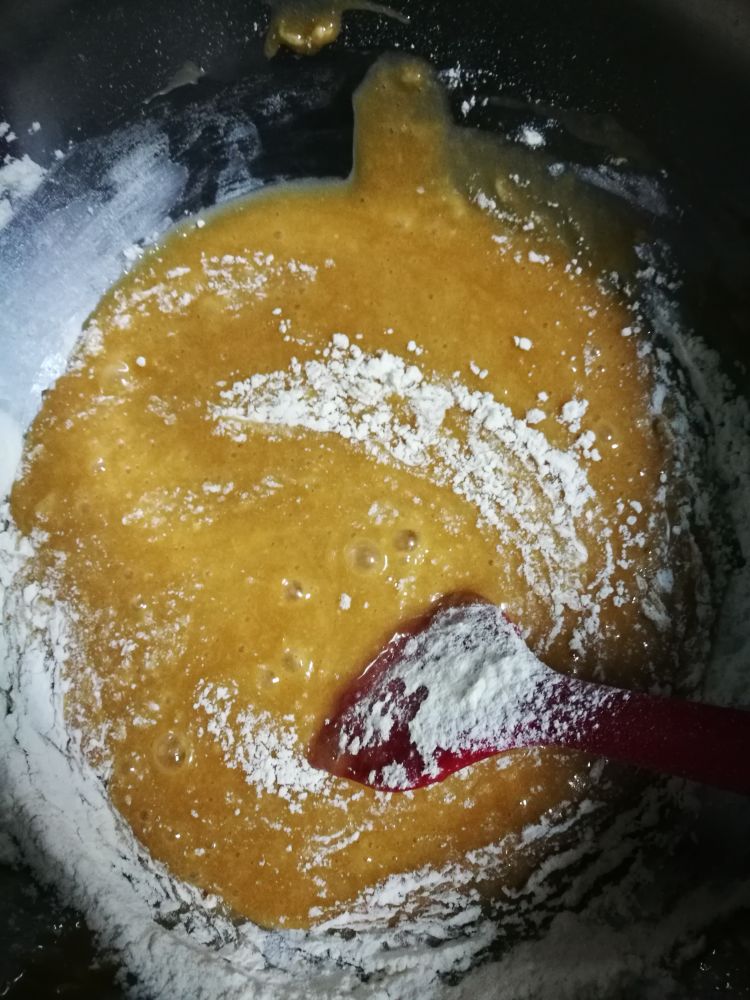
2. Stir in the salt and Vanilla. Sieve in 3 cups(390 grams) of flour. Mix and slowly add in the remaining 1/2 cup of flour, 1/4 at a time. This is going to be a thick sticky dough.
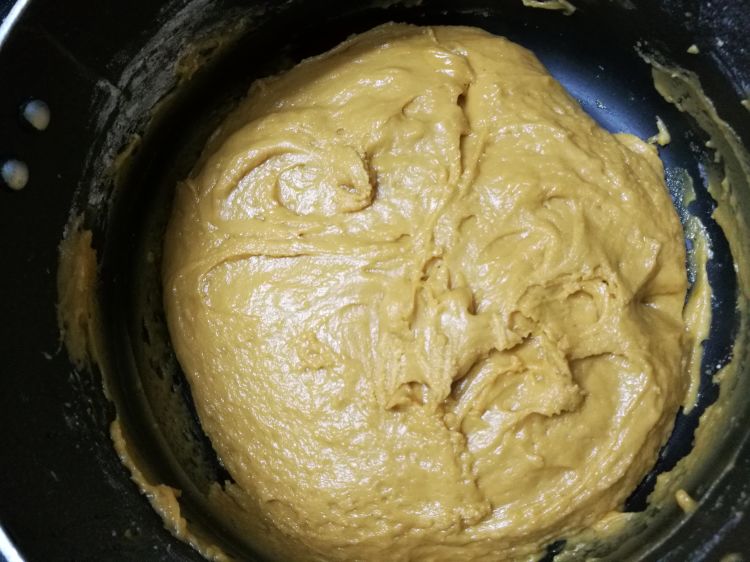
3. Final dough is going to look something like this.
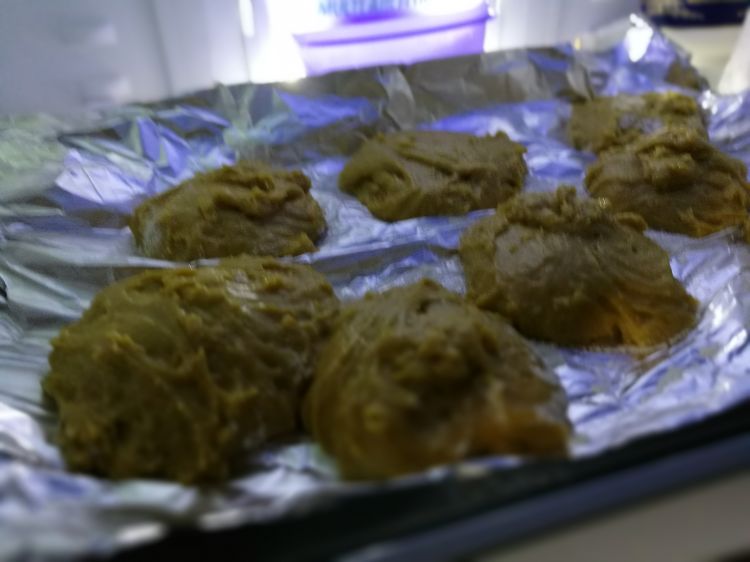
4. And now comes the tricky part, a bit tedious but totally worth. This step needs to be done while the dough is warm and sticky. I know, it will look like impossible, but with just a little flour dusting, and more determination, you will get the hang of it and in no time find yourself rolling the 8th cookie. Pour out the sticky dough on to a clean floured surface. sprinkle flour over the dough, lightly roll into a thick tube just enough to be able to cut it into 8 equal parts. The dough is difficult to handle, don't panic... dust flour as and when needed and bounce back to action.
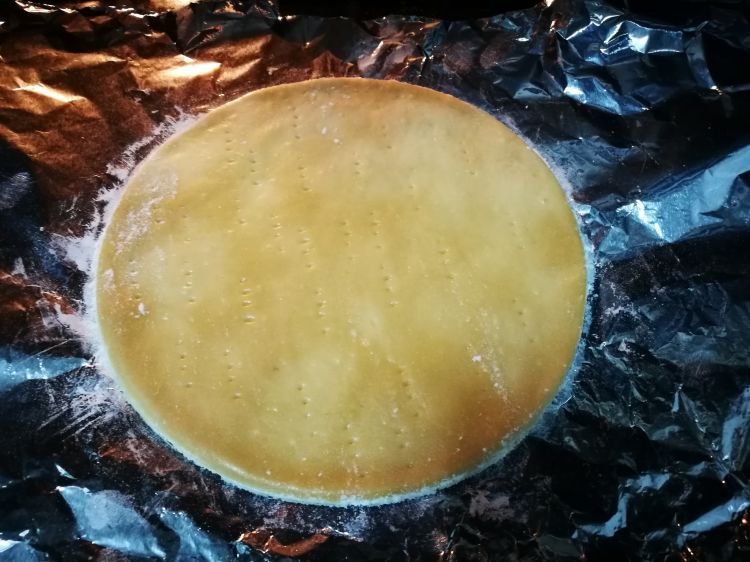
5. To make things convenient, cut out a 12 inch aluminium foil sheet. Dust it with flour place a dough ball dust some flour over it and gently start rolling to make a big cookie more than 8 inch size. To trim it into a neat 8 inch cookie I used my 8 inch flan tin ring (you could use an 8 inch plate or anything of that approx size). Save the trimmings, put them in a seperate baking tray.(we are going to bake it and use it for the decoration). Poke the cookie with a fork to avoid, biig bubble formations while baking.
6. Preheat oven. To make the handling easy and make it less time consuming, just slide in the aluminium foil with the big cookie onto a baking tray and into the oven and bake for 6-7 mins. In the meantime, cut out another aluminium foil sheet of around 12 inch, and roll out another big cookie.

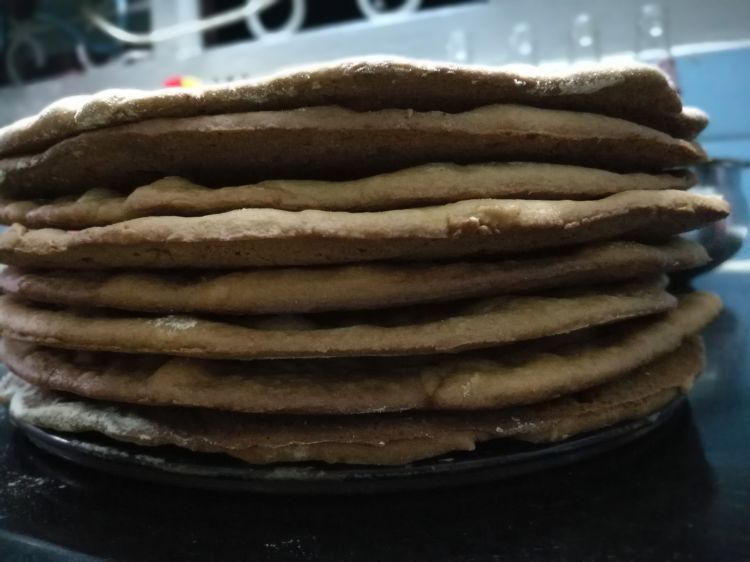
7. After 6-7 mins in the oven, it should be a little firm and darker on the sides. Once done peel the cookie gently out from the aluminium foil and place it on a cooling rack. Carefully scrape off crumbs from the aluminium foil and you are good to go, reuse it, alternatively turning sides. (I used 2 sheets of foil in all :P) Continue Steps 5 and 6 with the remaining dough balls. Stack up the big cookies once they are completely cooled. That's the end of the slightly tough part. Rest of the steps will pass like a breeze.
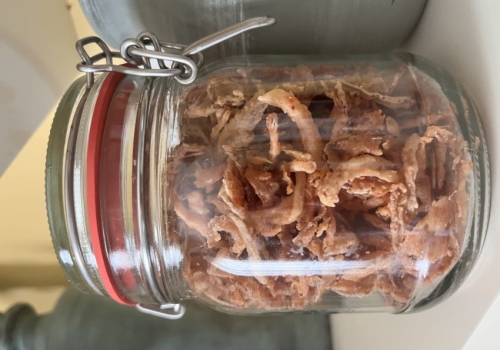
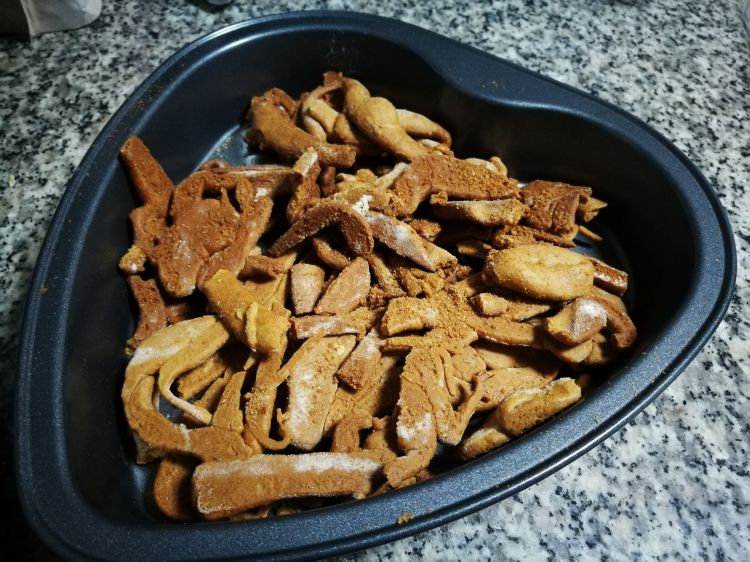
8. Bake the cookie trimmings and keep aside.
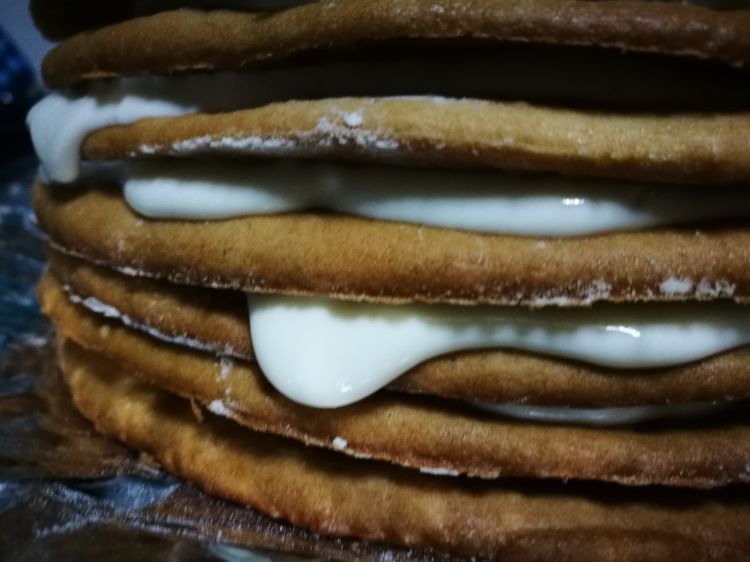
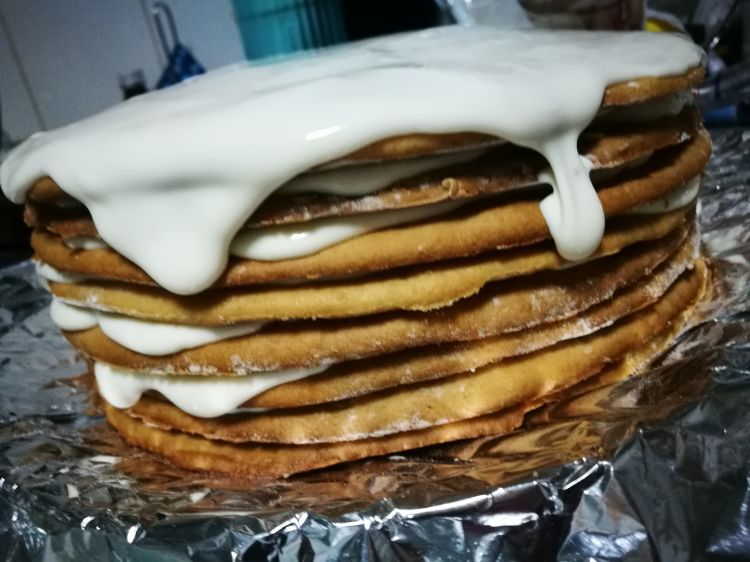
9. For the Frosting: In a big bowl, whisk in the sour cream and condensed milk. Take your cake plate and cut out 4 strips from the used aluminium foil and place it on the edges of the plate, in a way that you could easily pull it out from four corners, once the cake is ready. Place the first cookie on the plate, pour 3/4 cup frosting on the center of the cookie, spread it evenly, leaving an inch unfrosted towards the side and repeat the same till you stack up all the 8 cookies. While doing this, the cookies might slip n slide with the filling in between, don't panic just push it gently in place and maintain alignment occasionally. Carry on with the frosting, it will stay upright once the cookies start soaking in the cream.
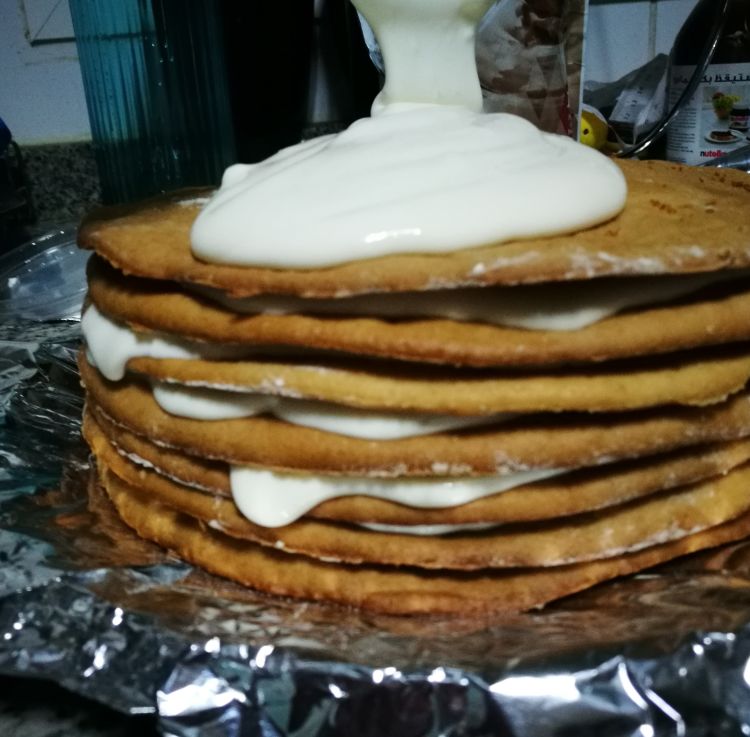
10. Finally pour in the remaining frosting little by little on the top , allowing it to flow and cover up completely.
11. I couldn't quite decide if the sight of dripping sweetened sour cream or the thick creamy taste it carried, which one was more satisfying. Well, you gotta enjoy both I say!
12. So, a moment here, what's Sour cream actually? It's taste is more like thick yogurt. But they are different, not tried interchanging them though. Yogurt is fermented milk, while sour cream is made of fermented dairy cream. The bacteria introduced to make sour cream is different from the ones used in yogurt. Yogurt is milk that has been fermented with bacteria while Sour cream is cream that has been fermented with lactic acid bacteria.
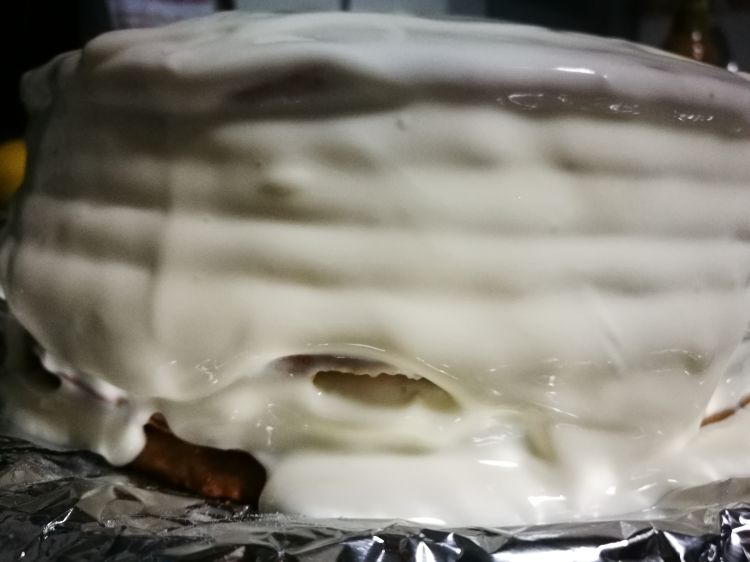
13. Once the cookie cake is stacked up and all decked up and dripping covered completely with sweetened sour cream, put it in the fridge overnight to chill.
Next day
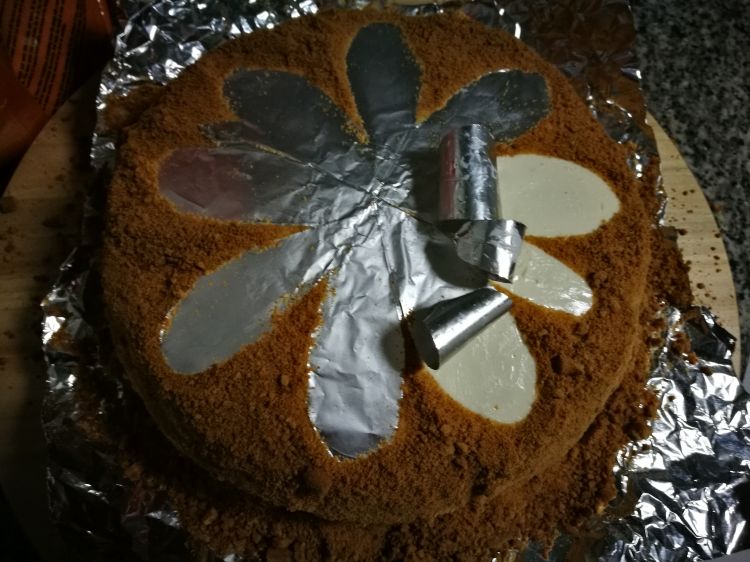
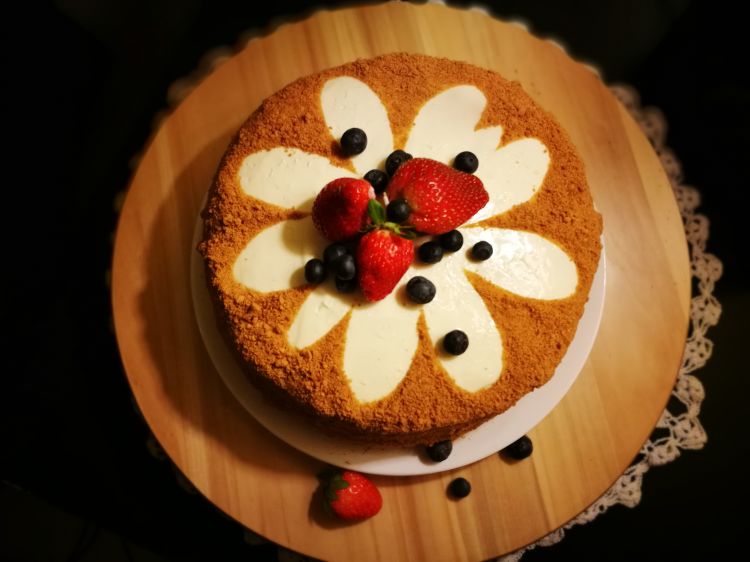
14. Take the cake out from the fridge, It will be all set and standing stiff. Now lets start with the decoration. Blitz the cookie trimmings, to a coarse powder. On a piece a clean foil, draw a pattern and cut out the stencil, place it over the center of the cake. Now dust the cake with the trimming powder from all sides. Cover up evenly. now brush out powder from the edges of the stencil and carefully lift the stencil.
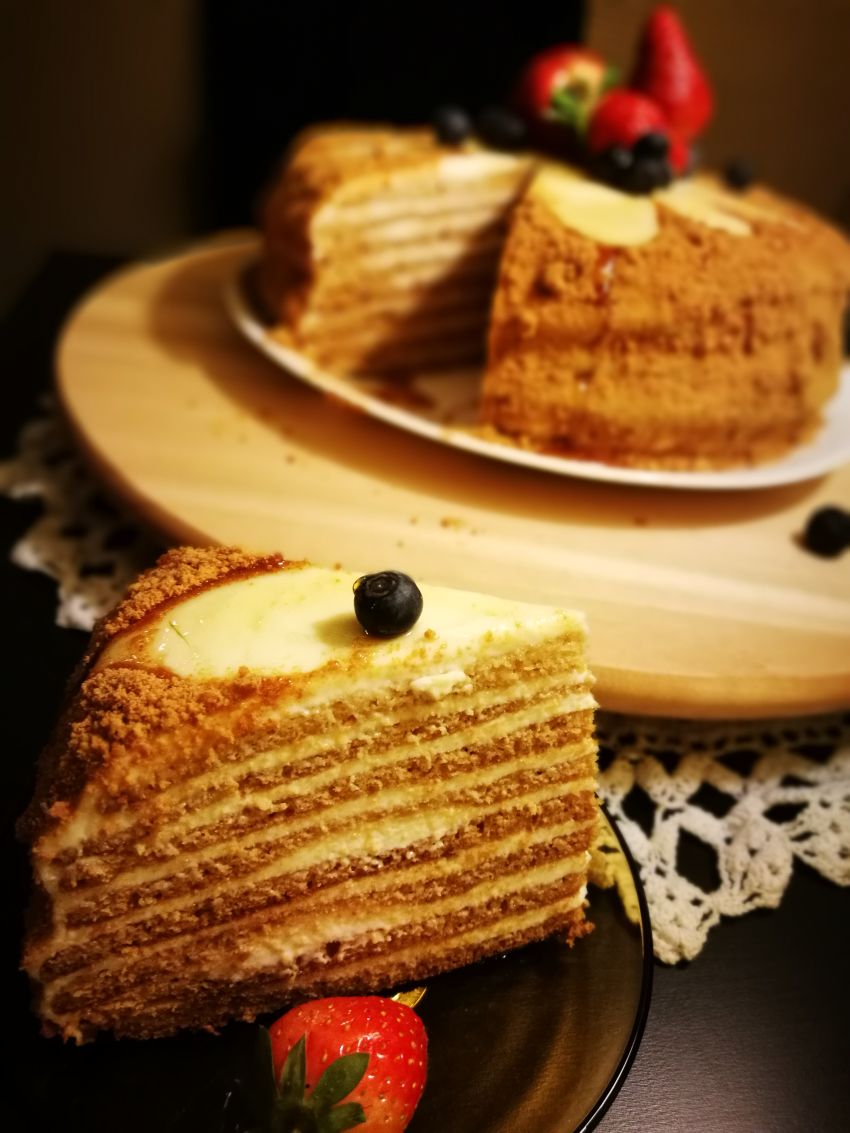
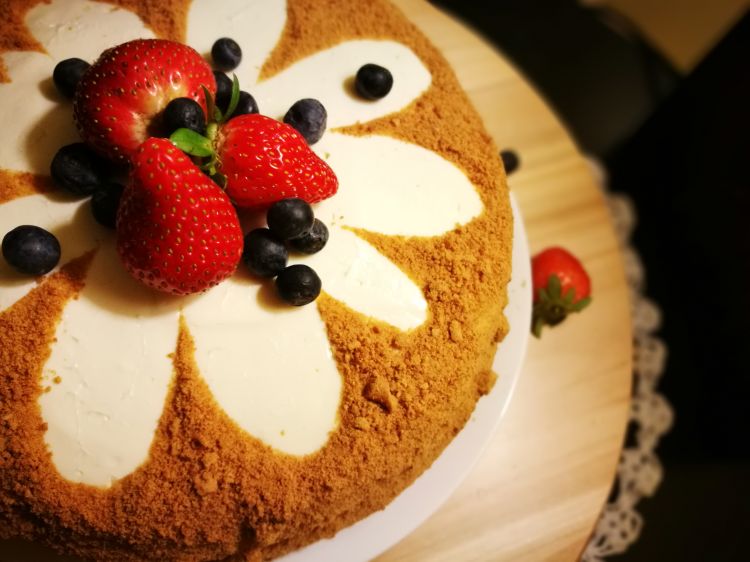
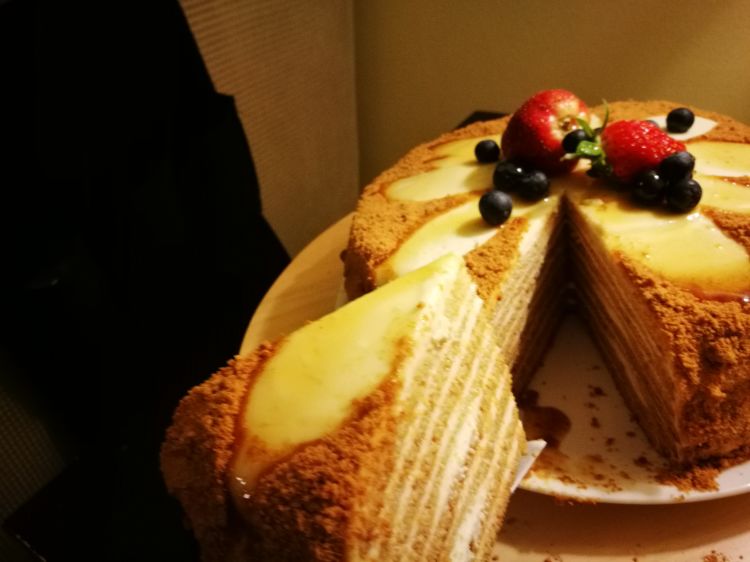
15. Voila!!! pattern set! now you can use anything to adorn your cake, just completely cover it with cookie powder, use a stencil to make an impression, top it up with fruits, nuts or choco-chips or just leave it as it is. tastes yummmy anyways!! Once done with decoration , carefully pull out the foil one by one from four sides.
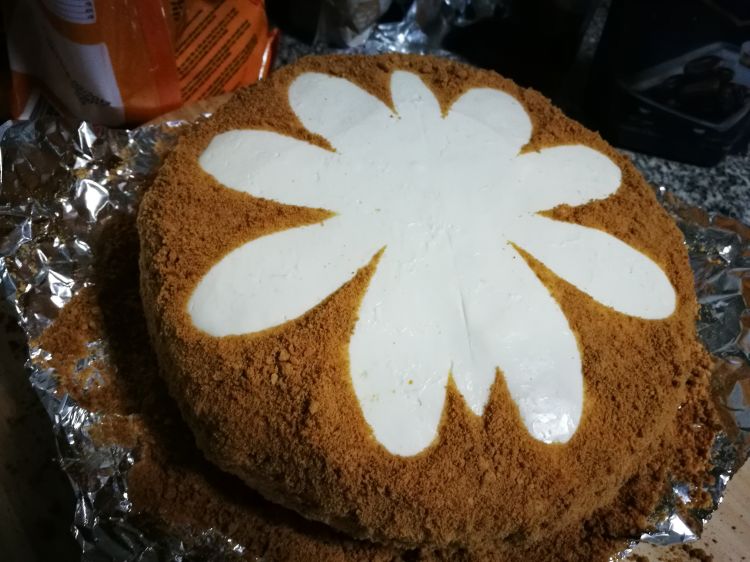
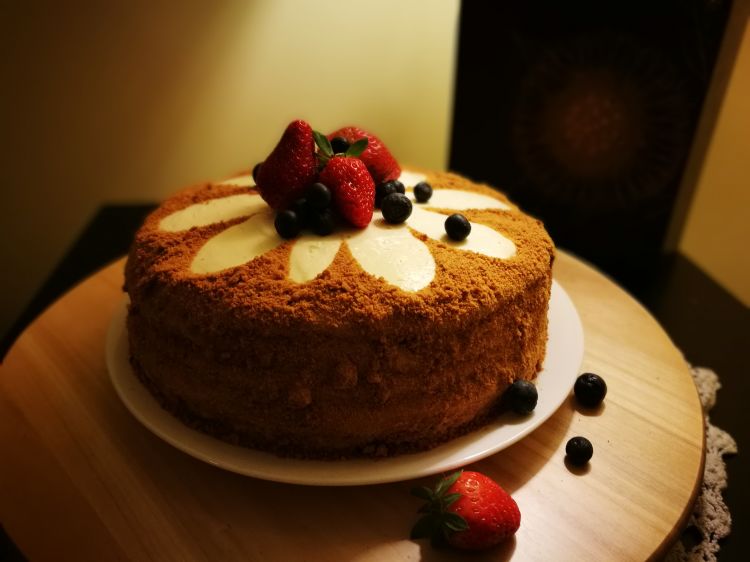
Stunner!!!
Drizzled some honey for more drama. :)
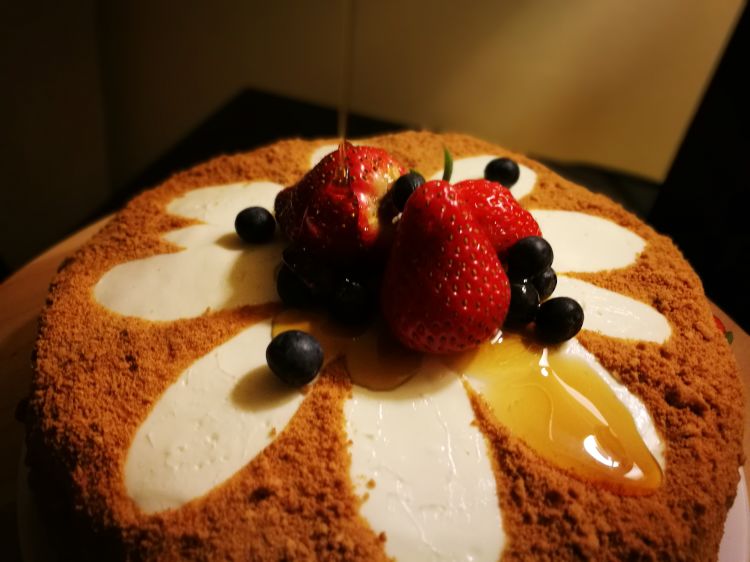
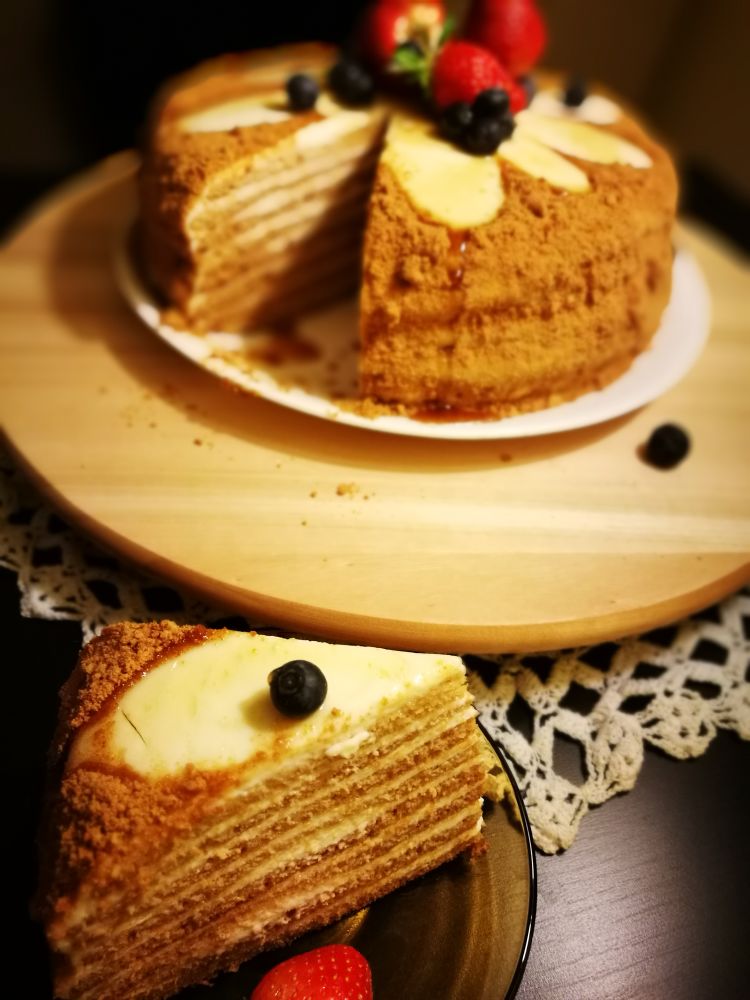
This cake is light and let's call it healthy as it is smothered in sour cream loaded with active culture, good on taste and on stomach. Plus that hint of honey....Pure Bliss...cheers.
Ingredients
- For the Big Cookie layer:
- Honey- 1/2 Cup( 170 gms)
- Sugar- 1/2 Cup(100 gms)
- Unsalted Butter- 1/2 Cup(115 gms)
- Baking Soda- 1 tsp
- Eggs- 3 large
- Salt- 1/4 tsp
- Vanilla extract- 1 tsp
- All purpose flour- 3 1/2 cup(455 gms)
- For the Frosting and Filling:
- Sour cream- 4 cups or 900 grams
- Sweetened condensed milk- 1 can(400 gms)
Directions
- Previous day Prep are as follows:
- 1In a sauce pan combine butter, honey and sugar over medium heat. Simmer for 3-4 mins, until it changes color faintly to a darker shade with a beautiful aroma. Stir in the baking soda. Take off heat. keep aside for 2-3 mins. Beat eggs in a separate bowl, and very slowly drizzle the egg mixture into the hot butter-honey mix, continuously whisking it the whole time. Whisk it until all the eggs are completely incorporated.
- 2Stir in the salt and Vanilla. Sieve in 3 cups(390 grams) of flour. Mix and slowly add in the remaining 1/2 cup of flour, 1/4 at a time. This is going to be a thick sticky dough.
- 3And now comes the tricky part, a bit tedious but totally worth. This step needs to be done while the dough is warm and sticky. I know, it will look like impossible, but with just a little flour dusting, and more determination, you will get the hang of it and in no time find yourself rolling the 8th cookie. Pour out the sticky dough on to a clean floured surface. sprinkle flour over the dough, lightly roll into a thick tube just enough to be able to cut it into 8 equal parts. The dough is difficult to handle, don't panic... dust flour as and when needed and bounce back to action.
- 4To make things convenient, cut out a 12 inch aluminium foil sheet. Dust with flour place a dough ball dust some flour over it and gently start rolling to make a big cookie more than 8 inch size. To trim it into a neat 8 inch cookie I used my 8 inch flan tin ring (you could use an 8 inch plate or anything of that approx size). Save the trimmings, put them in a seperate baking tray.(we are going to bake it and use it for the decoration). Poke the cookie with a fork to avoid, biig bubble formations while baking.
- 5Preheat oven. To make the handling easy and make it less time consuming, just slide in the aluminium foil with the big cookie onto a baking tray and into the oven and bake for 6-7 mins. In the meantime, cut out another aluminium foil sheet of around 12 inch, and roll out another big cookie.
- 6After 6-7 mins in the oven, it should be a little firm and darker on the sides. Once done peel the cookie gently out from the aluminium foil and place it on a cooling rack. Carefully scrape off crumbs from the aluminium foil and you are good to go, reuse it, alternatively turning sides. (I used 2 sheets of foil in all :P) Continue Steps 5 and 6 with the remaining dough balls. Stack up the big cookies once they are completely cooled. That's the end of the slightly tough part. Rest of the steps will pass like a breeze. Bake the cookie trimmings also.
- 7For the Frosting: In a big bowl, whisk in the sour cream and condensed milk. Take your cake plate and cut out 4 strips from the used aluminium foil and place it on the edges of the plate, in a way that you could easily pull it out from four corners, once the cake is ready. Place the first cookie on the plate, pour 3/4 cup frosting on the center of the cookie, spread it evenly, leaving an inch unfrosted towards the side and repeat the same till you stack up all the 8 cookies. While doing this, the cookies might slip n slide with the filling in between, don't panic just push it gently in place and maintain alignment occasionally. Carry on with the frosting, it will stay upright once the cookies start soaking in the cream.
- 8Finally pour in the remaining frosting little by little on the top , allowing it to flow and cover up completely.
- 9Once the cookie cake is stacked up and all decked up and dripping covered completely with sweetened sour cream, put it in the fridge overnight to chill.
- Next Day
- 1Take the cake out from the fridge, It will be all set and standing stiff. Now lets start with the decoration. Blitz the cookie trimmings, to a coarse powder. On a piece a clean foil, draw a pattern and cut out the stencil, place it over the center of the cake. Now dust the cake with the trimming powder from all sides. Cover up evenly. now brush out powder from the edges of the stencil and carefully lift the stencil.
- 2You can use anything to adorn your cake, just completely cover it with cookie powder, use a stencil to make an impression, top it up with fruits, nuts or choco-chips or just leave it as it is. tastes yummmy anyways!! Once done with decoration , carefully pull out the foil one by one from four sides.