Thai cuisine is well know for its street food and I'm just beginning to explore it. And those who know me, will know my obsession with fruit and dessert. Not only dessert, I just love incorporating fruits into my general cooking. Check out Mango Ice-box cake, Mango Curry, Pancakes with caramalised banana, Pineapple Sheera, Passion fruit Baked yogurt, Lemon Lava cake etc are a few. So the "banana" in a thin "Thai Roti" just caught my attention and I immediately sprung up to action. Thai Banana Pancake or "Roti" as they call it, are a popular street food in Thailand and a good option for breakfast too. After going through several recipes, I settled down with this recipe and with the promising technique shared by Pailin Chongchitnant from Hot Thai Kitchen.... I just hit gold! This is way more healthier to make at home! says Pailin.
At first it looked intriguing but believe me once you dive in, you just learn to swim through in this case. And the dough was easier to handle than it looked, that I ended up using the same dough for another street food, but this one's from Saudi Arabia called the "Saudi Murtabak" which is a savoury counterpart. Once the dough is kneaded, rest is a breeze! I have put up a short video of the stretching technique for better understanding.
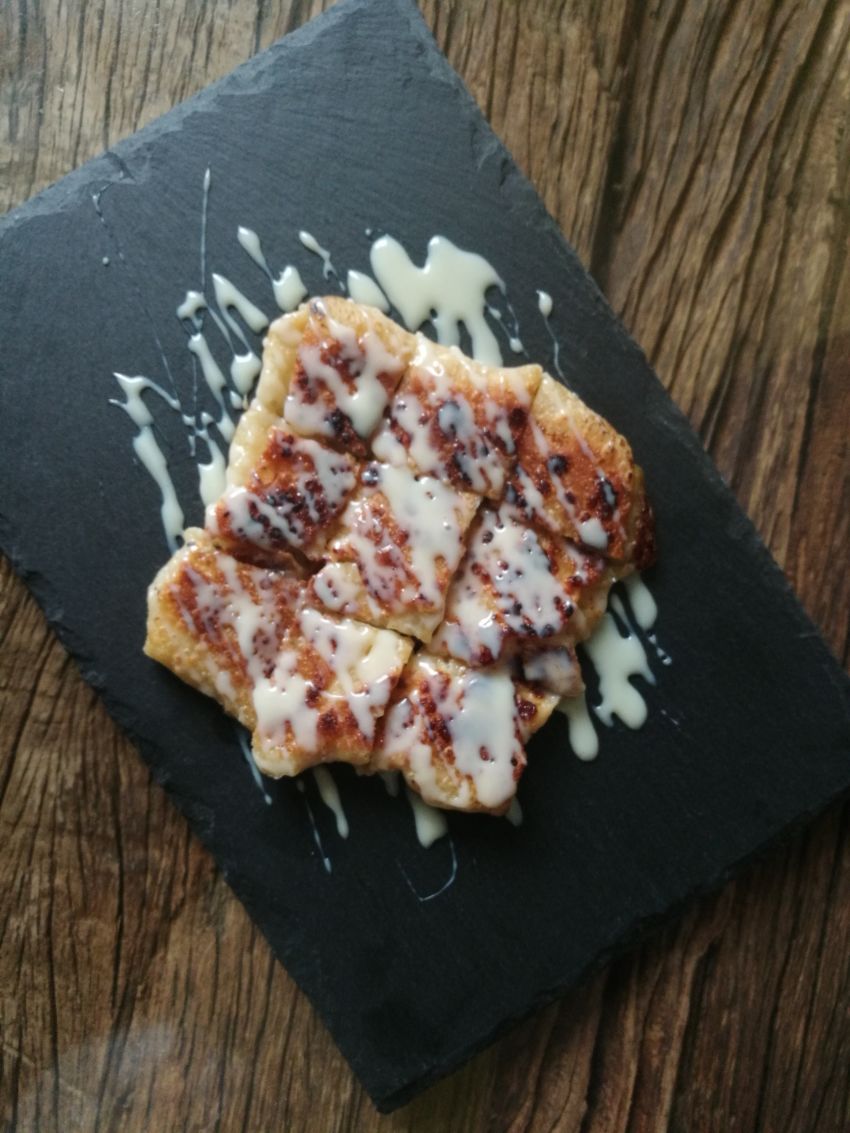
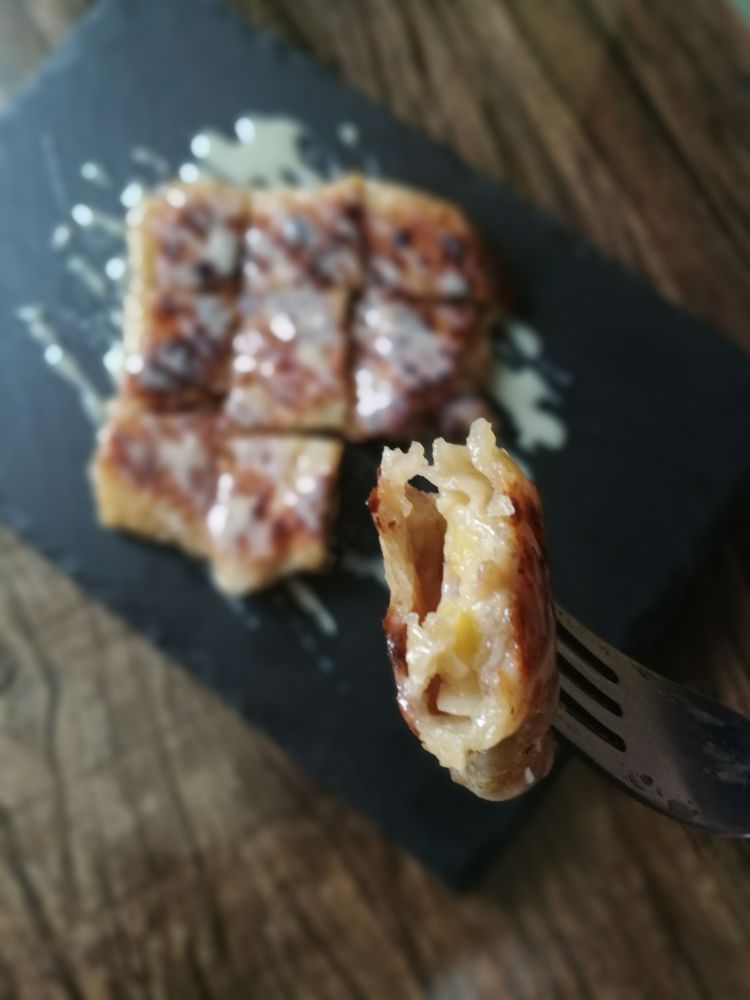
Once the pancake is crispy and out of the pan, you can throw your favourite topping on! Drizzle Condensed milk or nutella sauce ( heat it wit a little milk for flowy consistency) or just dust it with icing. Let your imagination take on the driver seat.
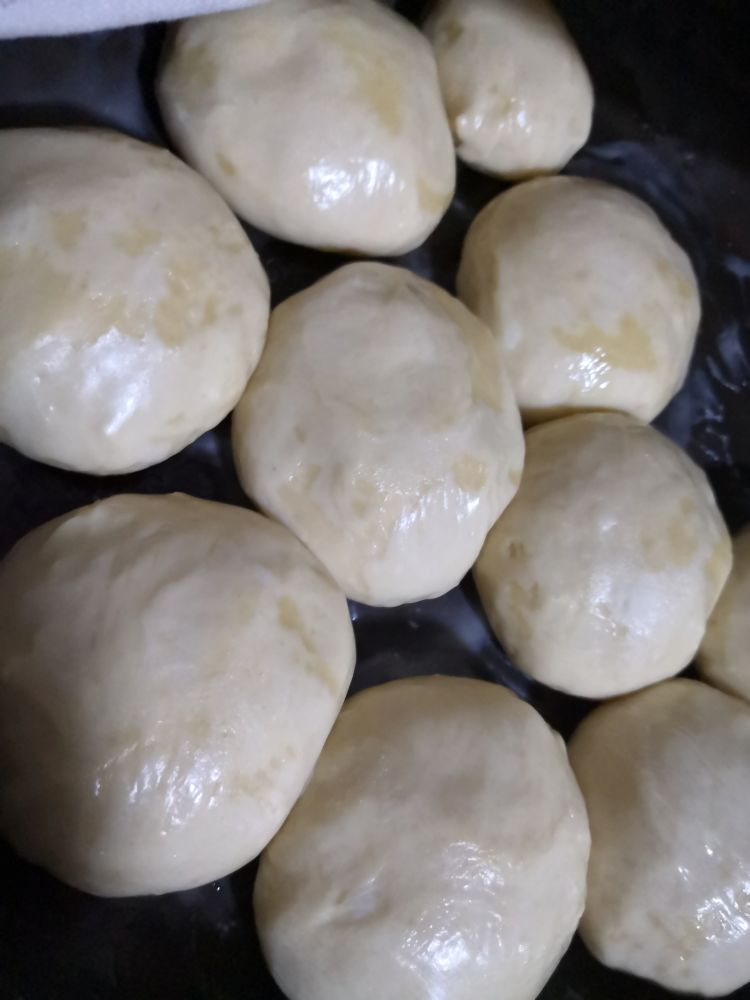
Generously brushed dough balls.(below pic)
That is how the stretched dough (roti) looks like.
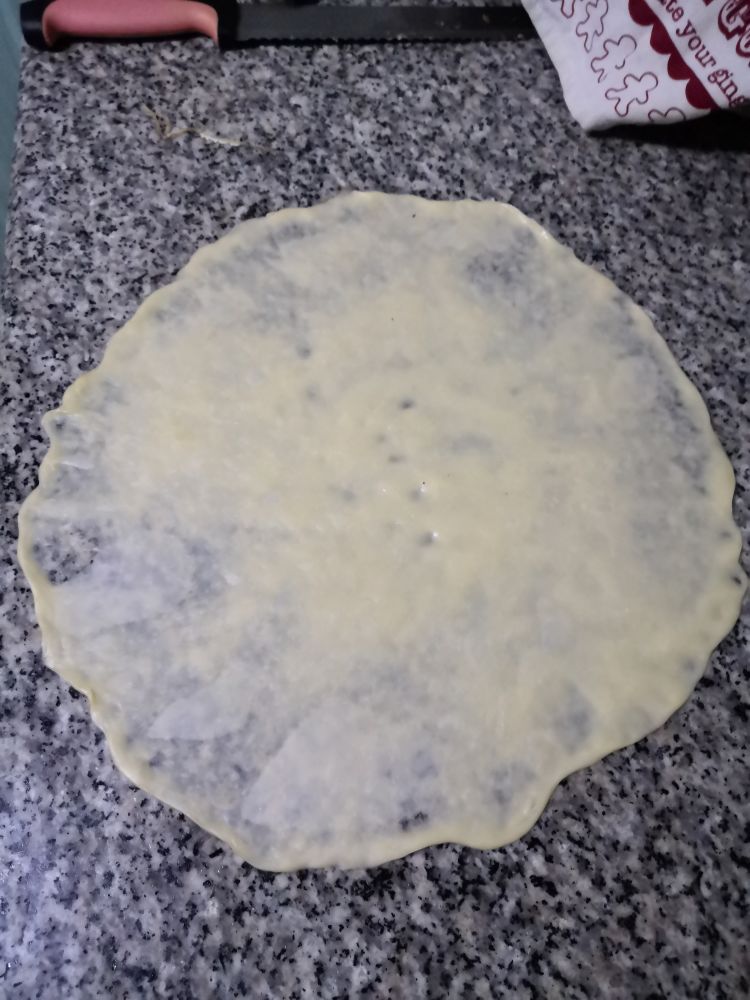
You can watch a short video on the Stretching technique here
Yumminess in every bite! A must! every effort worth it!
Ingredients
- For making Pancake Dough (Roti)
- Salt- 1 1/2
- Condensed milk or Sugar- 1 Tbsp
- Egg- 1
- Water- 260 ml
- All purpose flour- 500 gms
- Unsalted butter-55 gms (room temp)
- Unsalted butter- 1 1/2 Tbsp (for brushing over the dough)
- Oil - for pan frying
- For the Filling and topping:
- Bananaa- Sliced to roundrels
- Condensed milk or Nutella sauce or chocolate sauce or icing sugar
- Extra Unsalted butter for blobbing on hot pancakes(optional)
- Tool:
- Flat, thick-bottomed frying pan, 12-inches in diameter or bigger
Directions
- 1In a mixing bowl add salt, water, condensed milk and egg. Whisk it well till everything is well incorporated. Keep aside.
- 2In another bowl add the flour and room temperature butter and rub it together to form crumbs. Toss this butter-flour mixture into the water-egg mixture and mix it till no wet flour remains, cover and leave it undisturbed for about 15 mins so that all the liquid absorbs into the flour before you start kneading.(to autolyse, as this will make further kneading easy).
- 3After 15 mins knead the dough for about 5-8 mins till the dough is evenly softened. Put it out on the table top and continue kneading
Note:(its a pretty soft sticky dough at this point but don't panic and add more dough! just continue kneading and it will eventually come together as you knead and will not stick to your hand anymore. If it doesn't stop being sticky you can drizzle a little flour and knead again.)
Don't over knead the dough, we just need enough gluten to allow it to smoothly stretch. If you over knead it will get more elastic and will resist stretching later. - 4Allow it to rest for 10 mins.
- 5Roll the dough to a log and cut out balls of 80 gms each. (depends on the size of the pan you use. 80 gms works well for 12 inch pan). Make smooth balls.
- 6Mix melted butter with a tbsp of oil. Brush this mix to a flat dish generously and to the dough balls and place them in it. (we dont want the dough balls to stick to each other plus it gets moist enough to stretch later) Cover the dish with Kitchen towel and allow it to rest for min 2 hours or overnight in the fridge( get it back to room temperature before working on it).
- 7Press the dough ball on a working surface into a disc shape and gently work on enlarging the disc evenly by pushing the edges. Once you have pushed the disc to a medium plate size, now you can.. lift the edge- stretch- pin it to the table. Continue the lift- stretch- pin process till the whole disc is stretched thin on all sides. Watch the video above to understand better.
- 8Grease the pan and keep it on low heat. Cut off any chunky edges from the Roti sides. Gently lift the roti and place in the pan. Place the banana slices and position it in a way that will allow enough space to envelope the roti edges over onto the banana slices and seal it. (this has to be done quickly before the roti cooks up completely which will then make the folding and automatic sealing difficult. Allow to cook till crisp on one side, flip over and cook till golden by adding little oil at intervals when needed.
- 9Serve hot by drizzling your favourite topping (with a blob of butter) optional. Cut into chunks and enjoy!!!